The Glass Skin Routine — Every Product You Need, Step by Step

"Glass skin" isn't a filter. It's a real, achievable result of layering the right hydrating, brightening, and barrier-supporting products in the right order. Korean women have been doing this for years — the rest of us are just catching up.
Here's the exact routine, step by step, with every product you need. No 10-step intimidation — just the essentials that actually build toward that lit-from-within glow.

Glass skin starts with a perfectly clean canvas. Skip this step and every product after it sits on top of gunk instead of absorbing into skin.

High-pH cleansers destroy the progress you make with the rest of your routine. A low-pH cleanser is non-negotiable for glass skin — it preserves your acid mantle, which is the foundation of healthy, glowing skin.
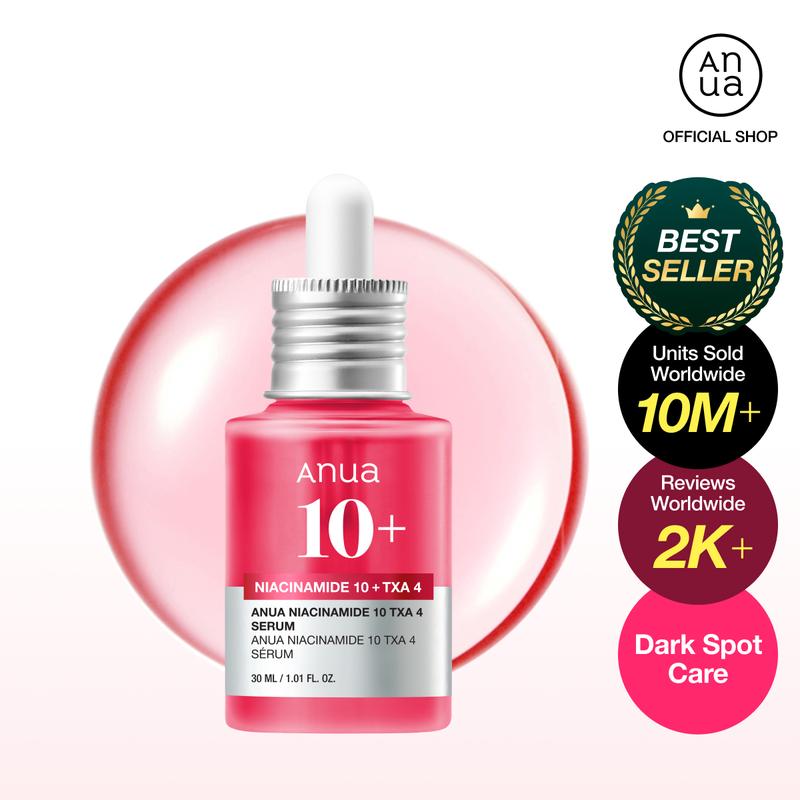
Glass skin isn't just about hydration — it requires even tone. Dark spots, redness, and uneven texture all kill the glass effect. This serum addresses all three at once.
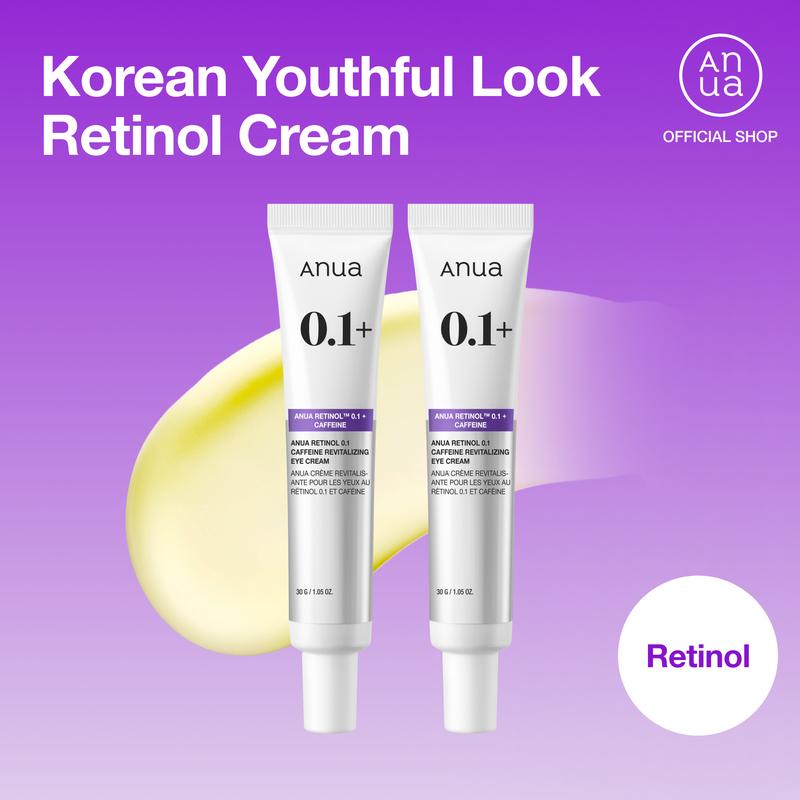
Dark circles and crepey texture under the eyes break the glass skin illusion instantly. This step targets both, and the 0.1% retinol is gentle enough for the delicate eye area.

Every product in this routine is undermined without SPF. Sun exposure triggers pigmentation, breaks down collagen, and destroys the even tone you're building. This SPF protects without messing up the glass skin finish.
Total Routine Cost: ~$90
Five products, each under $25, that build a complete glass skin routine. Apply in this exact order — thinnest to thickest texture — and give it 4-6 weeks of consistent use. Glass skin isn't a one-night result, it's a cumulative transformation.
This post contains affiliate links. If you purchase through these links, I may earn a small commission at no extra cost to you. I only recommend products I personally use and love.